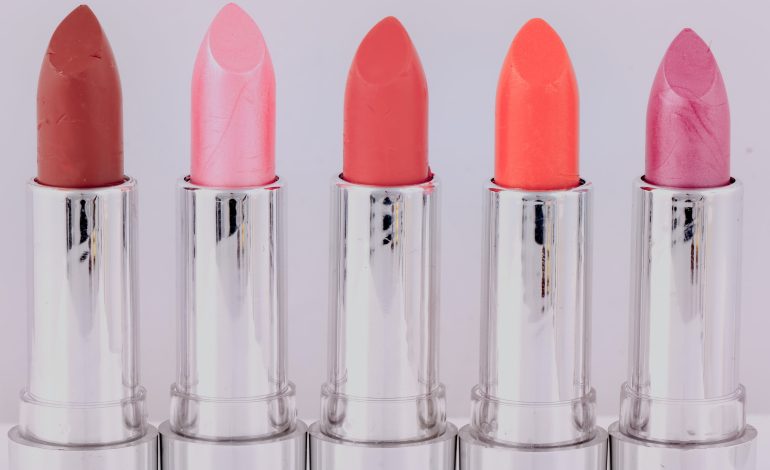
Contouring and highlighting techniques have become increasingly popular in the world of makeup, with countless tutorials flooding social media platforms. Whether you are a beginner or a beauty enthusiast looking to up your game, mastering the art of contouring and highlighting can help you achieve a flawless and sculpted look. Here are some key steps to contour and highlight like a pro.

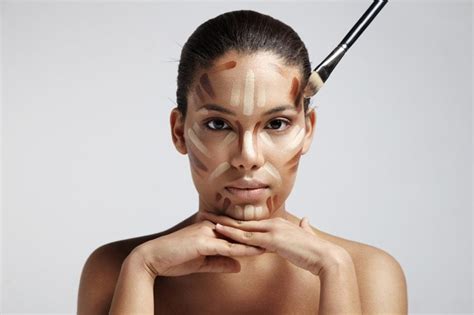
Firstly, it is crucial to understand the concept of contouring and highlighting. Contouring involves using a shade darker than your natural skin tone to create shadows in specific areas, such as the hollows of your cheeks, the sides of your nose, and your jawline. This technique helps to define and sculpt your face, giving the illusion of sharper features. On the other hand, highlighting involves using a shade lighter than your skin tone to bring forward the areas you want to emphasize, such as the bridge of your nose, your cheekbones, and your brow bone. This technique adds dimension and radiance to your face.
The next step is prepping your canvas, which involves cleansing, moisturizing, and applying primer. Cleansing your face removes any dirt or excess oil, ensuring a smooth application of makeup. Moisturizing helps to hydrate your skin and create a smooth base for the products. Lastly, applying primer helps to extend the longevity of your makeup and create a flawless finish.
Once your face is prepped, it is time to move on to the actual contouring and highlighting. Start by choosing the right products and tools. Opt for a matte contour shade that is a few shades darker than your natural skin tone. Cream or powder-based products work well, depending on your preference. For highlighting, choose a shade that is lighter than your skin tone, also in a matte or shimmery finish, depending on the level of glow you desire. Use a beauty sponge or a contour brush for an airbrushed effect.
To contour, begin by sucking in your cheeks to locate the hollows, then apply the contour shade in a diagonal line from the center of your ear towards the corner of your mouth. Blend it out using circular motions, making sure there are no harsh lines. For the sides of your nose, apply the contour shade along the sides, blending it out with a brush or your finger. Lastly, define your jawline by applying the contour shade along the jawbone, blending it downwards towards your neck.
Once you have contoured, it is time to highlight. Apply the highlight shade on the high points of your face, such as the bridge of your nose, the center of your forehead, your brow bone, and the tops of your cheekbones. Use gentle tapping motions with your finger or a damp beauty sponge to blend the product seamlessly into your skin. Avoid applying too much, as it can appear unnatural or emphasize texture.
To complete the look, set your contour and highlight with a translucent powder to ensure longevity. This step helps to prevent any unwanted smudging or fading throughout the day. Finish off with a natural blush and a dusting of bronzer for added warmth. Remember, practice makes perfect, so do not be discouraged if you do not achieve the desired results right away. Experiment with different techniques and products to find what works best for you.
Contouring and highlighting can truly transform your makeup game, elevating your overall look. With the right products, tools, and techniques, you can achieve a flawless and sculpted appearance that enhances your natural features. So, embrace your inner artist and start contouring and highlighting like a pro!


Leave a Reply